
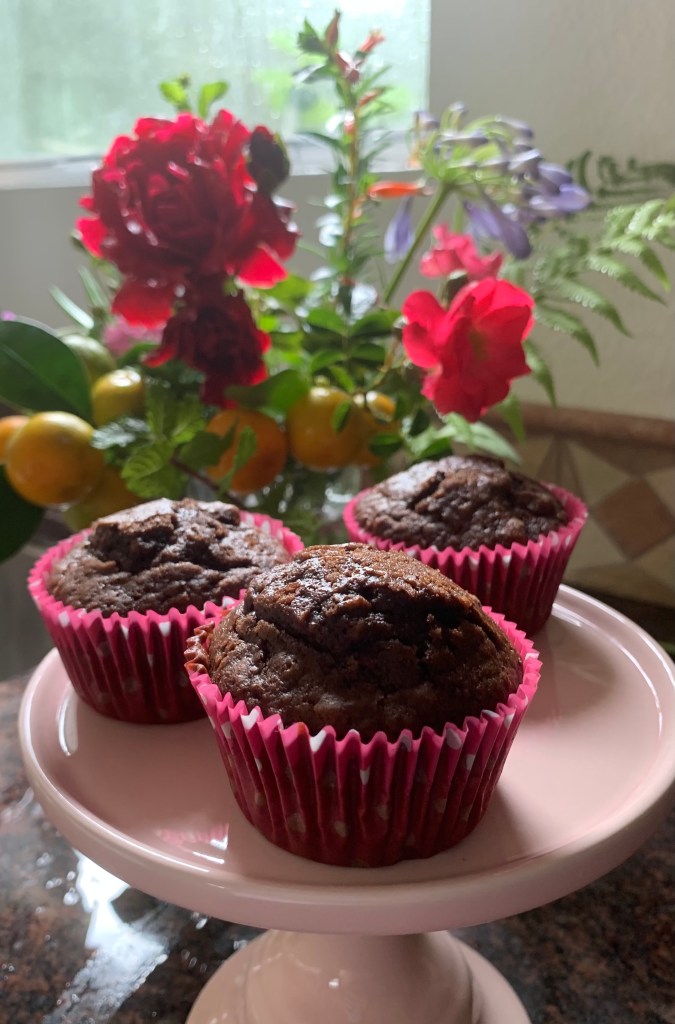
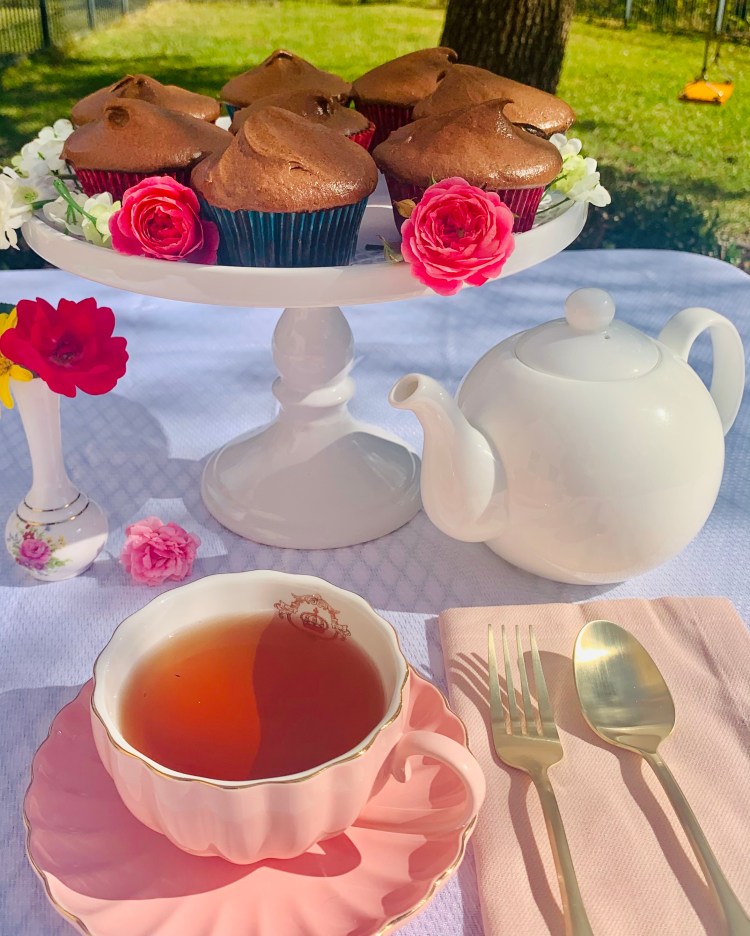
Theresa’s Easy Chocolate Chocolate-Chip Muffins
Ingredients:
2 extra-large eggs lightly beaten with a fork (large if you don’t have extra-large)
1/2 cup sour cream (full fat – this makes the muffins moist and dense)
1/4 cup plain or vanilla yogurt (I use Stoneyfield or Chobani)
1/2 cup vegetable oil
1/2 cup whole milk
1 tsp vanilla extract
1 cup granulated sugar
1/2 cup unsweetened cocoa powder (I use Ghirardelli)
2 cups all-purpose flour
1 tsp baking soda
1/2 tsp salt
1 cup dark chocolate chips (I use Ghirardelli)
3/4 cup semisweet chocolate chips
Preheat oven to 350 degrees F. Fill your cupcake/muffin tin with paper liners.
Combine all dry ingredients in a medium-large bowl, and stir to combine.
In a separate larger bowl, stir in your eggs, milk, sour cream, yogurt, oil, and vanilla extract. Next, pour your dry ingredients into the bowl of wet ingredients, and gently fold them in with a rubber spatula. The batter will be thick.
Fold in the chocolate chips being careful not over-mix the batter.
Spoon or gently pour the batter into the cupcake liners. Bake for 20 – 25 minutes depending upon your oven and the fullness of your muffin tins. Insert a wooden toothpick to help check for doneness when they’ve risen – do not overbake.
Cool the muffins in the pan for about 5 minutes, then transfer to a wire rack. Cover any leftover muffins with foil, and you can store them at room temperature for up to 3 days.
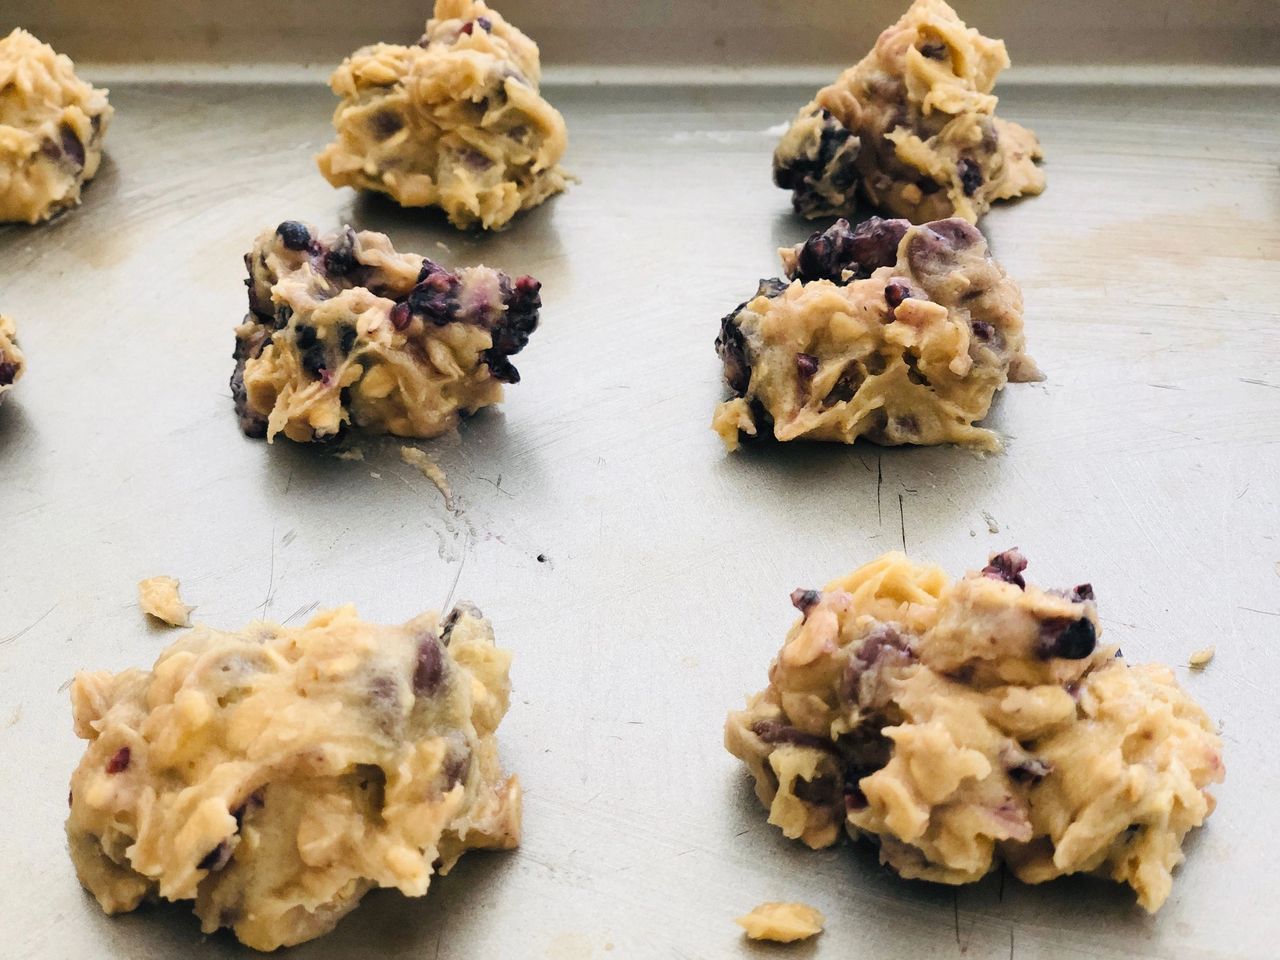
Laura Jolly’s Blackberry Chocolate Chip Oat Cookies

Ingredients:
1/2 Sugar
1 Cup packed light brown sugar
2 Eggs
1 Cup butter (softened)
2 Tbsp vanilla extract
11/4 Cups flour
2 Tbsp flour (to roll blackberries in)
3 Cups quick oats
1 Tsp salt
1 Cup dark chocolate chips
1 Cup of blackberries (cut in half)
Instructions:
1. Pre-heat oven to 325.
2. Line two cookie sheets with parchment paper. Set aside.
3. In a large mixing bowl cream together softened butter and sugars until smooth. Add in eggs and vanilla and mix until fully combined.
4. In another mixing bowl mix together 1 1/4 cup of flour, baking soda and salt until fully combined then add to the creamed mixture.
5. Slowly mix in the oats and dark chocolate chips.
4. In a small bowl place 2 Tbsp of flour and roll the fresh blackberries until the berries are covered. This step will help to prevent the blackberries from bleeding into the entire mixture while keeping their composition intact.
5. Fold the berries into the mixture gently.
6. Spoon about a tablespoon of the batter onto cookie sheet and bake for 12-15 min depending on your oven. Cookies should be browned around the edges when ready.
7. Remove cookies from oven and let cool for 5 min. After 5 min place cookies on a cooling rack to cool.
From Laura Jolly’s Politics and Provisions: https://politicsandprovisions.com
Old-Fashioned Coconut Custard Pie

1 – 9 inch homemade unbaked pie crust (I recommend Ina Garten’s pie crust recipe)
1 can of sweetened condensed milk (14 oz)
3 X-large eggs
1 teaspoon pure vanilla extract
1/4 teaspoon of salt
1/4 teaspoon nutmeg
1-1/4 cups hot water
1 cup of shredded coconut, separated into two 1/2 cups
Preheat your oven to 425 degrees F. Make the piecrust, place it in your pie pan, and put it in the refrigerator. Toast 1/2 of your shredded coconut on a small baking sheet – it only takes a few moments. Set aside.
Place a cookie sheet in your oven to get warm, and then put your piecrust on it in the 425 oven for about 5 minutes. Take it out of the oven, and set it aside.
Beat the 3 eggs in your stand mixer, and slowly add the can of condensed milk. Mix for about 2 minutes at medium speed.
Add the vanilla extract, salt, and nutmeg while stirring. Then add the hot water and the remaining 1/2 cup of shredded coconut. Mix only until combined.
Pour the custard into your pie shell that’s still on the cookie sheet, and sprinkle the top with some of the toasted coconut. I do not use the full 1/2 cup, but if you like more coconut certainly use the entire portion.
Carefully place the pie into the 425 oven and bake it for 10 minutes. Then reduce the oven temp to 350 F and bake it for another 25 – 30 minutes.
Let the pie cool for 1/2 hour before cutting it. Enjoy it warm or chilled. Whip up some heavy cream if you like, and serve it on the side.
My Pink Home’s Blueberry Raspberry Muffins

This muffin recipe should be made by hand instead of using a mixer. Fresh berries are preferred, but frozen berries can work in a pinch. Simply sprinkle an extra tablespoon of flour over the frozen berries to help soak up some of the liquid.
1/2 cup softened butter (not melted)
1 1/4 cups sugar
2 extra-large or large eggs
1 teaspoon vanilla extract
2 cups flour
1/2 teaspoon salt
2 teaspoons baking powder
1/2 cup whole milk
1 cup washed and dried blueberries
1 cup washed and dried raspberries
Preheat your oven to 375 degrees F. Line a cupcake tin with paper liners.
Cream the butter with the sugar until light and fluffy. Add the eggs and beat well by hand. Stir in the vanilla extract.
In a separate bowl combine the flour, baking powder, and salt. Gently whisk to combine, and add to the wet mix. Stir gently and add the milk. Stir the batter until all ingredients are combined, but do not over mix the batter.
Fold in the blueberries and raspberries.
Fill each liner in the cupcake tin with the batter, and bake for about 30 minutes. When done, remove each muffin from the tin. You can serve these muffins with or without a pat of butter, warm or cool.
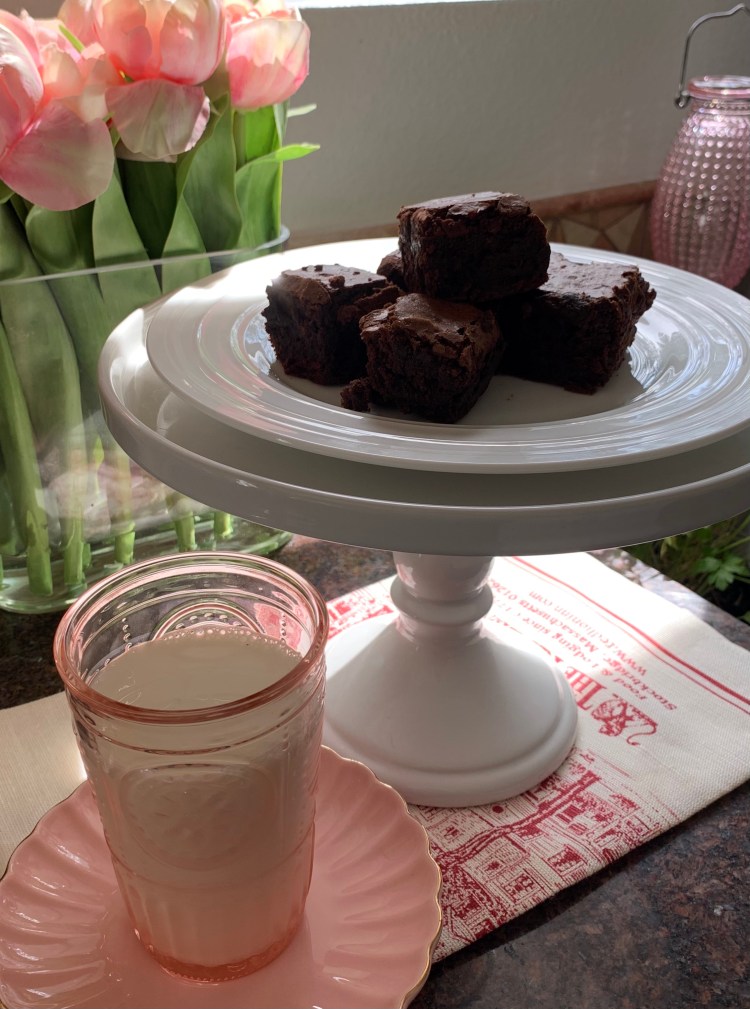
Dark Chocolate Fudge Brownies a la Heather
Adding coffee to your brownie recipe enhances the chocolate flavor of your bake. Adding coffee extract to your brownies makes it explode.
My friend Heather made a batch of homemade coffee extract, and gifted me a bottle. She also gave me a brownie that almost knocked me off of my chair. The recipe she used for her amazing brownies is below (Serious Eats link). She switched out the coffee granules called for in the recipe with 1/2 teaspoon of coffee extract. I modified the recipe to accommodate the ingredients I had on hand in my pantry; I used Ghirardelli 100% cocoa, Ghirardelli 60% cacao bittersweet chocolate bars, and salted butter which required changing the amount of salt added to the batter to 1 teaspoon from the 1-3/4 teaspoons.
These brownies are fudgy and filled with a rich chocolatey flavor. They are not for the faint of heart! Enjoy!
https://www.seriouseats.com/recipes/2018/02/bravetart-glossy-fudge-brownies.html
Whoopie Pies with Whipped Strawberry Butter Cream Filling
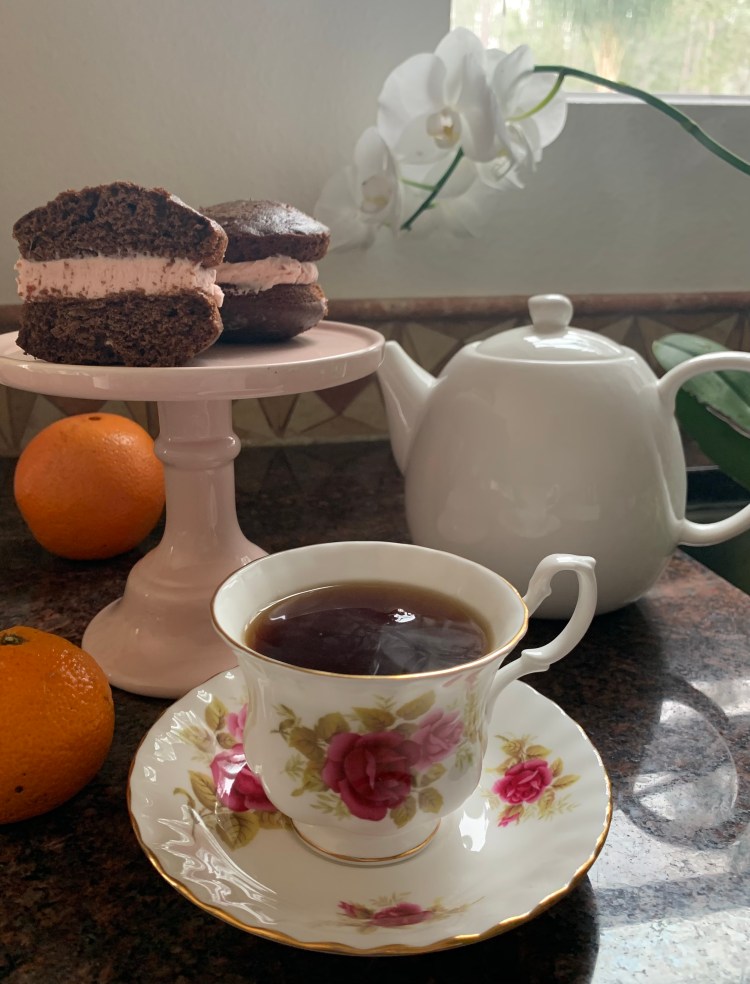
I still remember the moment I ate my first whoopie pie. I was vacationing in Bar Harbor Maine, and immediately understood why they’re a New England classic. Whoopie pies are like a sandwich made with little cake rounds and a cream filling. Traditional whoopie pies are made with shortening, but I prefer those made with butter.
Whoopie pies are said to have originated with the Amish in Lancaster County’s Pennsylvania Dutch Country. According to Amish legend, when children found these treats in their lunch bags they’d shout “Whoopie!” Some folks in Maine, however, believe they created whoopie pies, and the first were sold at Labadie’s Bakery in Lewiston, Maine in 1925.
I like Wilton’s whoopie pie cake recipe – see the link below.
I just tried Laura Jolly’s Whipped Strawberry Buttercream for the filling, and it was out of this world. It takes a bit of work to make, but I promise it is worth it. Please see the link below.
I hope you enjoy your whoopie pies!
Wilton’s Whoopie pie recipe: https://www.wilton.com/whoopie-pies/WLRECIP-392.html
Laura Jolly’s Whipped Strawberry Buttercream recipe: https://politicsandprovisions.com/f/strawberry-cake-with-whipped-strawberry-buttercream-icing
The Ultimate Veggie Burger

2 cups freshly made short-grain brown rice (it is important to use fresh short-grain brown rice for binding purposes)
2 T olive oil
2 small onions, chopped
16 oz mushrooms, sliced
1 garlic clove minced, more if you love garlic
1/2 cup crushed walnuts
1/4 c ground flaxseed
1 c panko breadcrumbs, divided
1/2 tsp smoked paprika
1 tsp datil pepper hot sauce (or hot sauce of your choice), 2 tsp if you like a little heat
2 T reduced sodium tamari sauce
1/4 c balsamic vinegar (scant 1/4 c)
1 tsp pure maple syrup
1 egg (omit if making the burgers vegan
Worcestershire sauce for brushing burgers (use vegan variety if making vegan)
Salt and pepper
Whole grain hamburger rolls
Burger toppings of choice: sautéed onions, lettuce, tomato, mustard, ketchup, pickles, mushrooms
Heat the olive oil in a large skillet, medium heat. Add the chopped onions, and sauté until soft. Add the sliced mushrooms and a pinch of salt, cooking until just browned.
Stir in the tamari, vinegar and maple syrup. Add the smoked paprika, hot sauce, and garlic. Remove the pan from the heat and let it cool slightly.
In a food processor, combine the salted mushroom and onion mixture with the walnuts, flaxseed, 1/2 of the short-grain brown rice, and 1/2 c of panko. Pulse until combined.
Transfer the mixture to a large bowl and stir in the rest of the brown rice. Put the egg in the food processor, pulse, and add to the bowl of the mixture, stirring it in well. Form the mixture into hamburger-size patties, brush with Worcestershire sauce, and place them on a cookie sheet or tray lined with parchment paper. Refrigerate for at least 1 hour. The patties can be made ahead of time and kept in the refrigerator, wrapped, for up to 2 days.
Heat your pan, drizzle with olive oil, and brown the patties about 4 minutes per side.
Serve the patties on whole grain rolls with the fixings of your choice.
My Pink Home’s Sour Cream Bundt Cake With Berries

2 sticks of unsalted butter, softened (not melted)
2 c sugar
4 x-large (or large) eggs at room temperature
1 T pure vanilla extract
1-16 oz container of sour cream
3 c all-purpose flour
2 tsp baking powder
1/2 tsp baking soda
1/2 tsp salt
1 c chopped, toasted walnuts
1 T cinammon
1/2 c firmly packed brown sugar
1/4 c confectioners sugar
Strawberries, blackberries, and raspberries (fresh preferred) or drained canned peaches
Preheat oven to 350, lightly coat a 10″ bundt pan with spray and/or butter, and dust the pan with flour. Tap out the excess flour. NOTE: if your bundt has a lot of nooks and crannies be sure to get them coated
Spread the walnuts out on a cookie sheet. Toast in the oven for 7 minutes, watching to make sure they don’t get scorched.
In a small bowl, combine the brown sugar, cinnamon, and cooled walnuts. Stir to combine.
Put the butter and sugar in a stand mixer and beat at medium speed until the mixture is light and fluffy (you can also use a hand mixer). Add the eggs one at a time, mixing after each addition. Add your vanilla extract, scrape the sides of the bowl with a spatula, and mix until combined, on medium speed.
Place the flour, baking powder, baking soda, and salt in a medium bowl and blend with a fork. With the mixer running on slow, add 1/4 of the dry ingredients into your creamed mixture. Add half of the sour cream and 1/2 of your dry ingredients, and mix on slow until almost combined. Then add the remaining sour cream and dry ingredients and mix until combined.
Spoon half of the batter into your bundt pan, and sprinkle the streusel evenly over the batter. Spoon the remaining half of batter over the streusel.
Bake for 50-60 minutes, until the cake is firm to the touch and a toothpick comes out clean.
Cool the cake in the pan for 15 minutes, and then gently trace just the upper edges of the cake with a knife being careful not to go too deep or cut the cake. You simply want to gently coax the top part of the cake away from the edge of the pan. Place a serving plate over the pan and cake, and turn it over, releasing the cake onto the plate. Allow the cake to cool thoroughly.
When the cake is cool, arrange your berries around the sides and in the center of your cake.
Dust the cake and the berries with confectioners sugar (I tap it through a screened strainer)
The cake will keep at room temperature for 3 days covered.
My Pink Home’s Fluffy Chocolate Cupcakes with Whipped Mocha Ganache Frosting
These airy little cakes are iced with a whipped dark chocolate mocha ganache, and are full of a delicate chocolate flavor. I use cake flour; it produces a very soft and light cake. There are several brands one can purchase, or one can make a cake flour with cornstarch and all-purpose flour in a pinch.
CUPCAKE RECIPE:
2 sticks of softened butter (not melted)
2 c fine sugar
2 extra-large eggs
1-1/2 tsp pure vanilla extract
2-1/2 cups cake flour
1 c baking cocoa powder
2 tsp baking soda
1/2 tsp salt
2-1/4 c buttermilk
GANACHE FROSTING RECIPE:
I-12 oz package of dark chocolate chips
1-1/4 c heavy cream
2 T butter
1 T espresso powder
1 mixing bowl chilled in the refrigerator
Preheat oven to 350 degrees. Place cupcake papers in a muffin tin.
Cream the softened butter with the sugar on medium speed until pale yellow and fluffy. Beat in the eggs one at a time, and add vanilla extract.
In a separate bowl, combine all dry ingredients and stir. Pour 1 cup of the buttermilk into the creamed butter and sugar, and slowly mix just until blended. Carefully alternate the addition of the remaining dry ingredients and buttermilk to the mixture on a low speed until blended. Beat for 1 minute on medium speed.
Spoon batter into cupcake papers in tins. Bake for 15 minutes or until a toothpick in the center comes out clean.
While the cupcakes are cooling, make the frosting.
Place chocolate chips in a large bowl with the cream, butter and espresso powder. Slowly heat in the microwave, checking every 15 seconds as chocolate burns quickly. Do not let the cream get too hot or simmer. When the chocolate chips are soft, remove and whisk until smooth. It will become shiny, smooth, and dark. Cool the ganache at room temperature.
Remove your chilled mixing bowl from the refrigerator and pour your cooled ganache into it. Whip the ganache at high speed with a whisk attachment until it is light and the consistency you are looking for. Sometimes I use a lightly whipped ganache as in the picture above, and sometimes I whip it longer to make a stiffer icing that can be piped or designed. These cupcakes should be refrigerated. One can store unused ganache for up to 3 days in an airtight container in the refrigerator.
_______________________________________________________________________________________________
Roasted Boneless Leg of Lamb
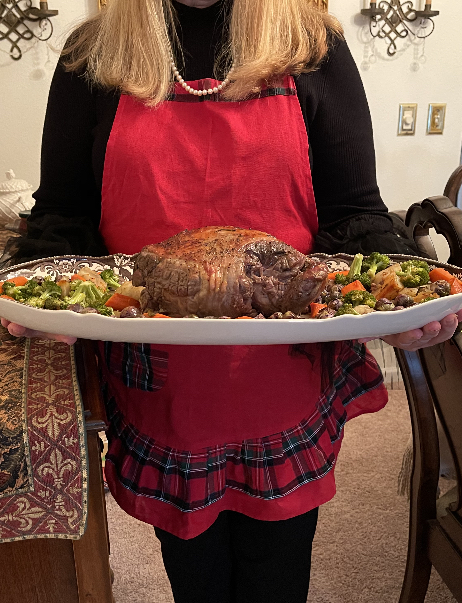
The ingredient list for this roasted boneless leg of lamb is simple – garlic paste, olive oil, butter, chopped rosemary leaves, salt, pepper, potatoes, carrots, broccoli, and Brussels sprouts. Dry red wine is optional. You should feel free to substitute the vegetables according to what is in season, and according to what you like.
1 tsp garlic paste (you can pulse fresh garlic in a food processor or purchase a paste)
1 T fresh rosemary leaves
1 T softened butter
1 T olive oil
1/2 tsp salt (more to taste)
1/4 tsp pepper (more to taste)
1 tied boneless leg of lamb, 5-6 lbs.
4 pounds peeled potatoes quartered
Peeled fresh carrots cut in chunky pieces
Brussels sprouts, washed and cut end trimmed
1 head of broccoli washed and cut into chunky pieces
1/4 c dry red wine (optional)
Preheat your oven to 450 degrees. Place the garlic paste, rosemary, butter, olive oil, salt, and pepper into a small bowl and stir gently. Thoroughly coat the lamb with this mixture, and let the lamb sit at room temperature for about 30 minutes.
Toss your vegetables in a little bit of additional olive oil, salt, and pepper, and assemble them in the bottom of the baking pan. Place the lamb on top of the vegetables, and roast for 15-20 minutes at 450 F. Reduce your temperature to 350 degrees and roast for another 1-1/4 hours, until a meat thermometer reads 135 degrees (for medium rare) in the thickest part of the roast. Remove the lamb and vegetables from the roasting pan. Cover the lamb with with foil and let it rest for for 15 minutes. Make the optional pan juice with wine below while the lamb is resting.
PAN JUICE: Add the wine to the roasting pan, and deglaze by boiling it over medium-high heat, stirring constantly for 1 minute. Season the pan juices with salt and pepper, and pour it into a small pitcher or bowl. Carve the lamb roast, and serve it on a platter with the roasted vegetables and pan juices.
Classic Apple Pie
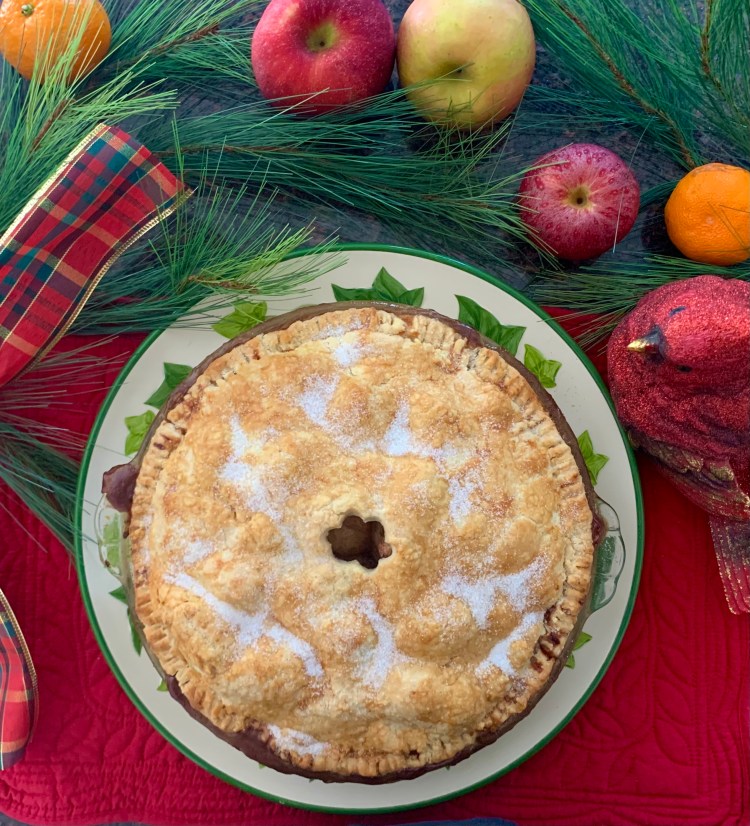
The first recorded apple pie recipe originated in England in 1381, and included figs, raisins, and pears. There is also a Dutch apple pie recipe that was recorded in 1514, that used finely chopped sour apples since the sweet apples were eaten as is. Neither of these early apple pie recipes are similar to the ones we make now. Their crusts were “coffin crusts,” which were for baking purposes only, and not intended to be eaten. They also did not use sugar. Apples are native to Asia, and were brought to North America by the early colonists. Two recipes for American apple pie were first published in American Cookery by Amelia Simmons in 1796, and the quintessential American dessert was born.
4 lbs. McIntosh apples or Granny Smith apples (note: Mac’s cook fast, so partially blind bake your pie crust for 5 minutes before adding your filling if using McIntosh apples, instructions below)
Juice from 1 small fresh lemon and some zest
Juice from 1 satsuma or 2 T fresh squeezed orange juice
1/2 c sugar (plus one T for sprinkling on the top of the crust before baking)
1/4 c all purpose flour
1/4 tsp salt
1 T cinnamon
1/2 tsp nutmeg
1/8 tsp allspice
Double pie crust (see recipe below)
1 beaten egg with 1 T water for crust egg wash
Preheat your oven to 400 degrees. Make your pie dough, separate into 2 pieces, wrap in parchment or plastic wrap, and refrigerate.
Peel, quarter, and core your apples. Combine them with all of the ingredients in a large bowl.
Roll out half of your pie dough, and place it in your pie pan (I roll my pie dough out between two pieces of parchment paper instead of on a floured surface). If you’re using McIntosh apples, pre-bake the crust for 5 minutes using dried beans, rice, or piecrust weights on a large piece of parchment placed on your crust in the pie pan.
Fill the pie with your apple mixture.
Place a sheet pan/cookie sheet in the oven so it will be hot when you place your pie on it to bake.
Roll out the other half of your pie dough (this will be the top crust). If you have a mini cookie cutter, you can cut our a piece in the middle of your pie crust, and place it on top of your apple mixture. Brush the crust lightly with your egg wash around the rim and on top. Crimp the two crusts together around the rim of the pie pan with your fingers or a fork. Sprinkle some or all of the tablespoon of sugar over the top of the pie, and cut 3 or 4 slits in the piecrust if you did not cut out a small hole in the middle of the top crust before draping it.
Place the pie on the pre-heated cookie sheet, and bake for 1 to 1-1/4 hours depending on the apples you’ve used for your pie, and your oven. When your see the pie’s juices bubbling out and the crust browned, your pie should be done.
Ina Garten’s Perfect Pie Crust (makes two 10 inch crusts)
1-1/2 sticks very cold butter unsalted butter (MY NOTE: I use salted)
3 c all-purpose flour
1 tsp kosher salt (MY NOTE: If you’ve used salted butter reduce this to 1/4 tsp)
1 T sugar
1/3 c very cold vegetable shortening
6-8 T ice water
Dice the butter and shortening. Return them to the refrigerator while you prepare the flour mixture.
Place the flour, salt, and sugar in the bowl of a food processor fitted with a steel blade. Pulse a few times to mix.
Add the butter and shortening. Pulse 8-12 times until the butter is the size of peas. With the machine running, pour the ice water down the feed tube and pulse until the dough begins to form a ball. Dump out on a floured board and roll into a ball. Wrap in plastic wrap and refrigerate for 30 minutes.
How to blind bake (pre-bake) a pie crust
The term “blind bake” originated in England, and means pre-baking a crust without any filling, then adding a filling once cooked.
Place the uncooked pie crust in your pie pan, and line with parchment.
Add weights, dry rice, or dried beans, and refrigerate for 10 minutes.
Bake the crust in a preheated 400 degree oven for 5 minutes for a pie that will be filled and returned to the oven, like an apple pie. Otherwise, bake at 375 degrees for 20 minutes or until the crust is golden all over, for a pie you’ll be filling and refrigerating, like a chocolate pie.
Theresa’s Winter Pot Roast

1 boneless pot roast
1/2 cup all purpose flour
1 T olive oil
1 onion
1-2 stalks of fresh celery
3-4 fresh russet potatoes
2 fresh sweet potatoes or yams
3-4 fresh carrots
2 cups fresh green beans
2 fresh zucchini
3-4 fresh tomatoes cored and peeled or 1- 14.5 oz can of tomatoes
1 bay leaf
1-2 sprigs of fresh rosemary
fresh parsley
1-3/4 cup (more if needed) low sodium beef broth
salt and pepper to taste
Feel free to use any other winter vegetables you have such as parsnips or rutabaga
Heat olive oil in a large, heavy Dutch oven on the stove. I use a cast iron Dutch oven.
Rinse meat, dry thoroughly, and dredge in flour. Salt and pepper the roast.
When the oil is hot, place the roast in the Dutch oven and cover. Brown both sides of the meat at medium-high heat which takes about 10 minutes. The crispy pieces at the bottom of the Dutch oven will become your gravy. Turn the stove burner down to low.
Add 1/4 cup beef broth, onion, celery and tomatoes to the pot. Gently scrap the pieces at bottom or the Dutch oven with a wooden spoon, incorporating them into the broth. Add the bay leaf. Cover and simmer on low for 1 hour, adding a few tablespoons of beef broth if needed.
Turn the beef over and gently stir gravy with a wooden spoon. Add 1/2 cup beef broth. Cover and simmer on low for 1 hour. Add salt and pepper to taste, and parsley.
Peel and cut the potatoes, sweet potatoes, and the carrots. Add the potatoes and 1 cup of beef broth to the gravy, and simmer for 10 minutes. Then add the cut carrots and sweet potatoes. Simmer for 20 minutes. Wash and dry the green beans and zucchini, and set aside.Cut the green beans and add to the Dutch oven. Simmer for 20 minutes.
Cook the pot roast until the meat is fork tender. Add the zucchini slices, and simmer for 5 minutes. While the zucchini is cooking, make a gravy thickener in a mug or cup using about 1/3 cup all purpose flour and 1/4 cup of water. Stir the mixture with a fork, making sure to stir out all lumps.
Remove the roast and vegetables from the pan and place them on a large platter. Bring the gravy to a vigorous simmer (not a boil) and add the thickener, stirring constantly with a wooden spoon for a minute or two. Turn off the burner.
Spoon some of the thickened gravy over the meat and vegetables. Garnish the plated roast with a spring of rosemary. Serve the gravy in a bowl on the side.
A basket of warm rolls or biscuits is a wonderful accompaniment to help sop up this winter pot roast on your plate.
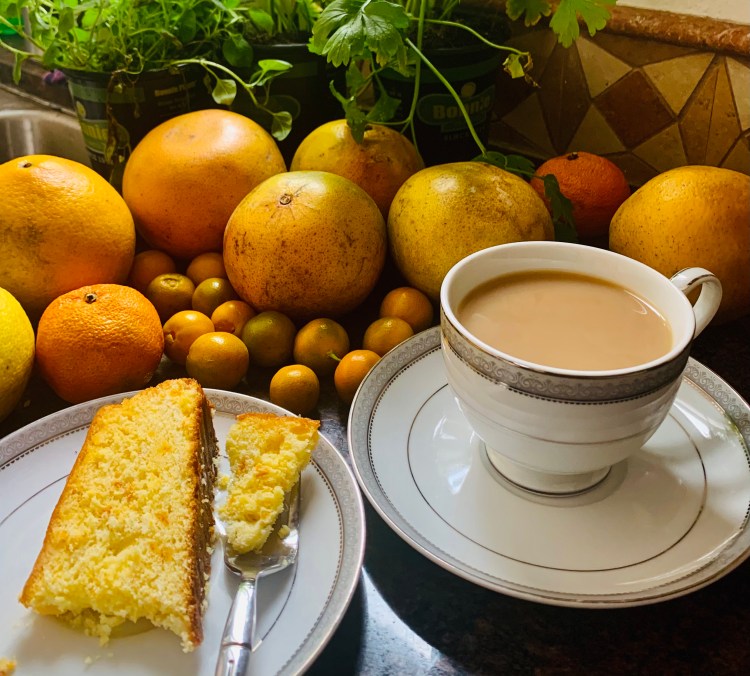
My Pink Home’s Satsuma (Orange) Cake w Blood Orange Glaze
SATSUMA CAKE:
3 extra large eggs
1 c sugar
1-3/4 c all purpose flour
2-1/2 tsp baking powder
1 tsp pure vanilla extract
1/3 c softened butter
1/3 c sour cream
2-3 washed Satsumas or 1 large ripe seedless orange (use the best quality you can find)
ORANGE GLAZE:
Juice from a blood orange or any other flavorful and ripe orange
1/3 c sugar
Preheat oven to 350 degrees. Spray an 8″ springform pan with cooking spray and line with parchment paper. Lightly spray the parchment paper.
In a food processor or blender, process the whole Satsumas (or orange) until chunky-pureed.
In your mixer, beat the sugar and eggs until light and fluffy. In a separate bowl, put the flour and baking powder in together and mix lightly with a fork.
When the sugar/egg mixture is light yellow and creamy, add the flour and baking soda. Then add the softened butter. When mixed in, add the vanilla and sour cream. Add the pureed orange. Beat only until incorporated.
Place batter in your prepared springform pan and bake for 50-55 minutes, testing for doneness. Cool for 15 minutes, and remove the springform pan’s side.
Make the glaze by melting the 1/3 sugar in a small pan with the juice of a blood orange (or other ripe orange). Stir constantly and bring to a simmer. When it is of a syrupy consistence, remove from the heat. Remove your cake from the base of the springform pan and place on a cake plate. Gently spoon the glaze over the top of the cake, allowing it to run down the sides of the cake. Cool and serve.
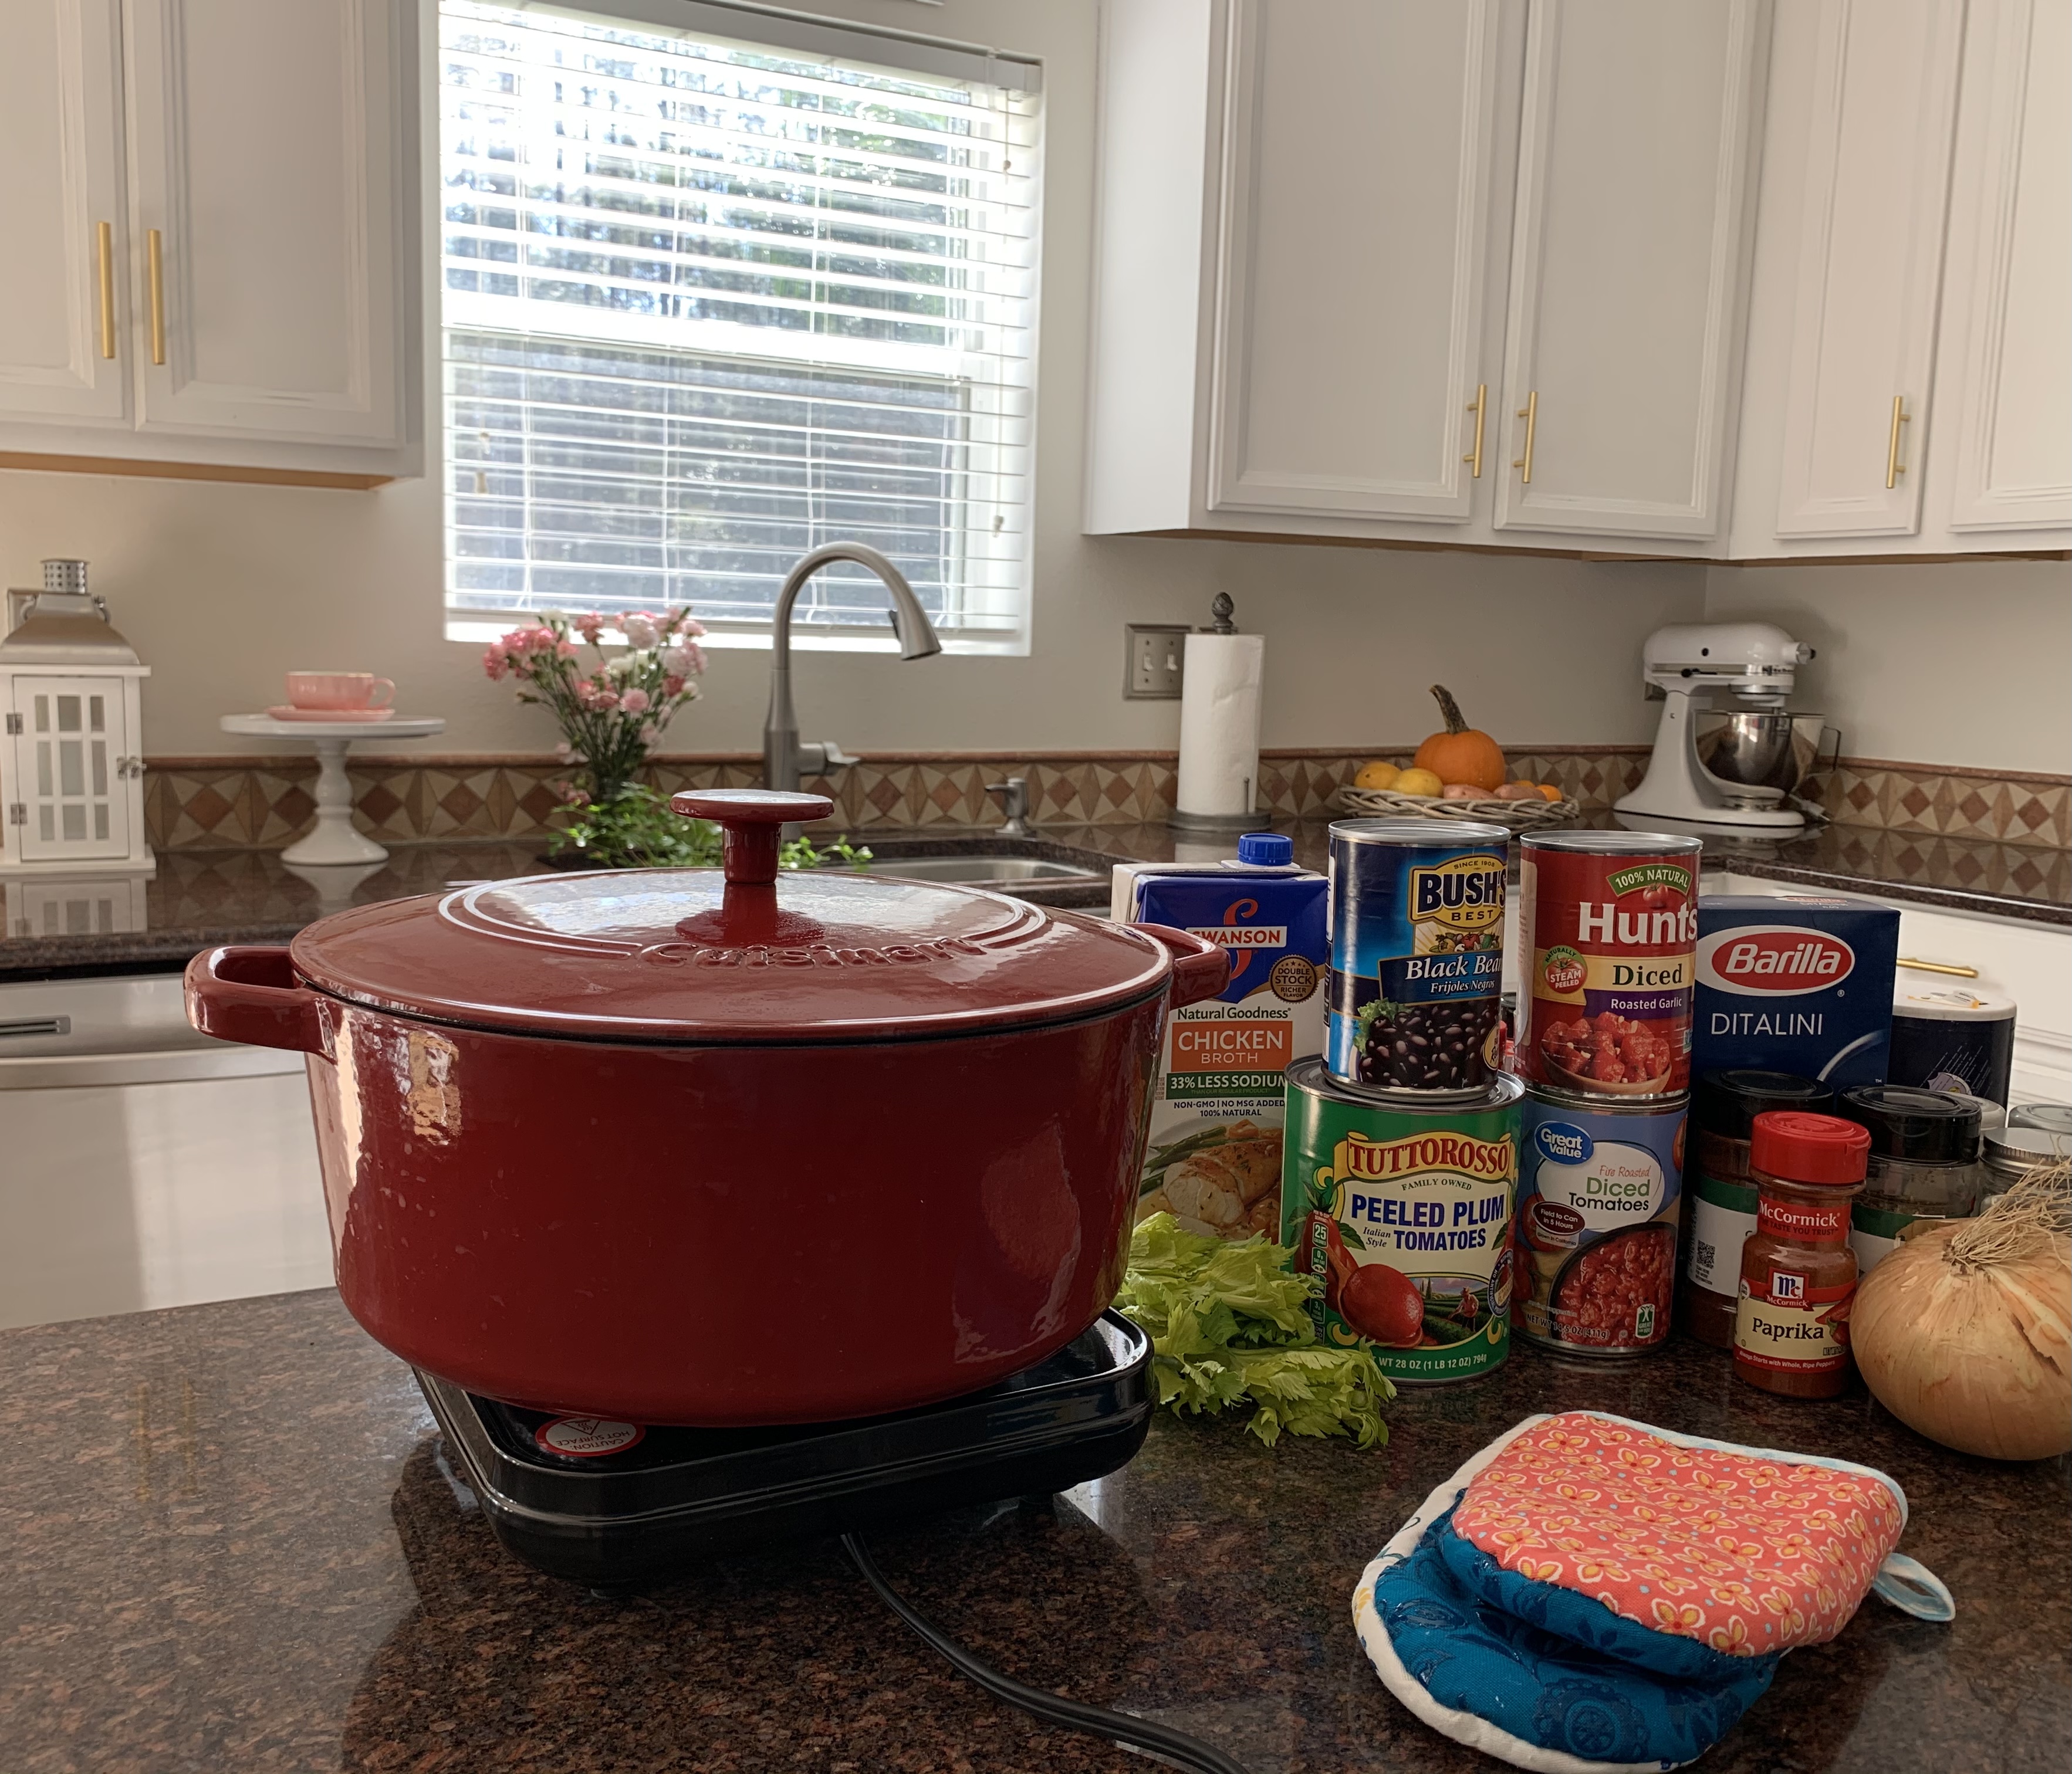
Stay At Home Sausage Soup
1 pkg Italian sausage, mild, sweet, or hot – casings removed
I medium onion, chopped
2 large stalks of celery, chopped
1 28 oz can of Italian tomatoes
1 can of black beans
1 pkg of frozen mixed vegetables or 1 can of mixed vegetables
1 32 oz carton of low sodium chicken broth
1 tsp garlic powder
1 T chili powder
1/2 tsp cumin
1/2 tsp paprika
A few shakes of black pepper
Grated parmesan cheese for serving
1 cup ditalini pasta or other small-sized pasta
In a large pot, brown the sausage and break into small pieces with a fork or a potato masher.
Add onion and celery; when soft add the canned tomatoes, chicken broth, and spices. Let simmer for 1/2 hour.
Drain the can of black beans and rinse them in a colander. Add the beans to the soup. Add the mixed vegetables. If using canned mixed vegetables, be sure to drain them thoroughly before adding them to the soup. Simmer for 1/2 hour.
Bring a separate pot of salted water to boil. Add 1 cup ditalini pasta and cook it until “al dente,” about 8-10 minutes, stirring occasionally. Drain, and spoon some into serving bowls.
Ladle the soup into the serving bowls over the pasta. Grate parmesan cheese on top, and serve.
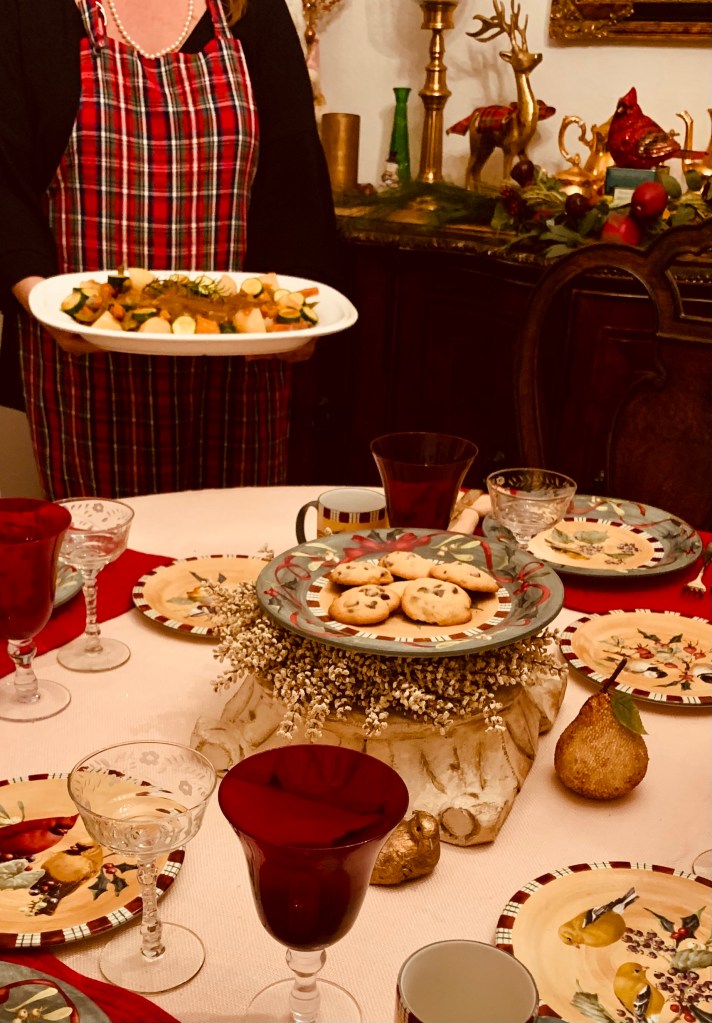
Easy Chocolate Chip Banana Bread

This banana bread recipe is simple to make and easy to clean up – you won’t even need your mixer for this one. There are dozens of banana bread recipes out there, and Bon Appetite has a particularly delicious one that calls for mascarpone, walnuts, and dark brown sugar. But if you’ve just got a couple of ripe bananas and baking staples in your pantry, this recipe’s for you. It is crispy on the outside and moist on the inside. Let’s get baking!
2-3 ripe bananas (enough to make 1 c of mashed bananas)
1 stick softened butter (do not melt it)
3/4 c brown sugar
2 eggs
1 T milk
2 c all-purpose flour
1 tsp baking powder
1 tsp baking soda
1 tsp salt
1 c semisweet chocolate chips
- Preheat oven to 325 degrees. Grease and flour a loaf pan (or use cooking spray with flour), and mash ripened bananas with a fork in a small bowl.
- In a large bowl cream softened butter and sugar. Add eggs one at a time, stirring well. Add mashed banana.
- Combine your dry ingredients in a separate bowl or on a piece of waxed paper, and add them to the large bowl of your wet ingredients. Stir gently until the dry ingredients are combined. Fold in the 1 T of milk, followed by the cup of chocolate chips. Do not over-mix. Pour the batter into your prepared loaf pan, and bake for 1 hour or until a toothpick inserted in the center comes out clean.
My Humble and Hearty Beef Stew
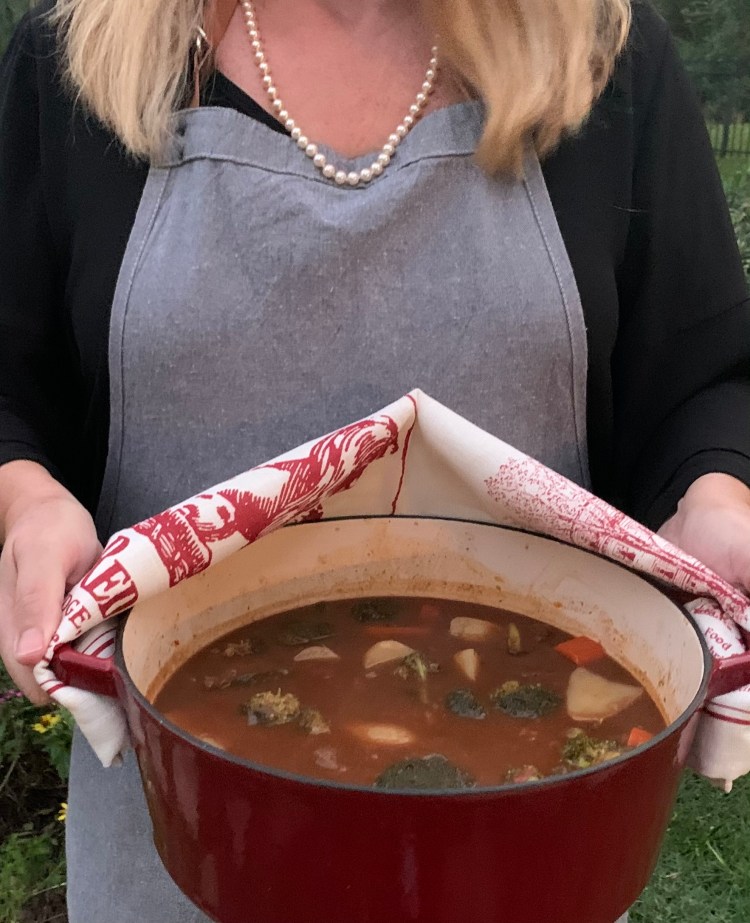
Beef chuck is an economical cut of meat, and becomes wonderfully tender when cooked low and slow for 2-1/2 – 3 hours. Cooked with a bounty of humble vegetables in a rich, nutritious beef-wine gravy, this stew promises comfort and warmth in a bowl. Feel free to add whatever vegetables are in season, or are to your liking. Frozen vegetables may also be used.
1/3 cup all-purpose flour
1/4 tsp ground pepper
1/2 tsp salt, optional
1 lb beef chuck (stewing beef), cut into cubes, organic preferred
5 tsp olive oil
1 cup good red wine
4 cups beef broth, homemade or low-sodium
1- 14.5 oz can diced or stewed tomatoes, organic preferred
1 bay leaf
1 medium organic onion chopped
5 organic carrots, peeled and sliced
4 organic russet potatoes, peeled and cut into 2 inch cubes
1 head organic broccoli
1 small head organic cauliflower
1 sprig of rosemary, organic preferred
Optional: fresh or frozen corn, fresh or frozen green beans, fresh or frozen peas, other vegetables in season and/or of your choice
- Wash beef and pat dry. Combine flour and pepper in a bowl, add beef, and coat well. Heat 3 tsp of oil in a large good quality Dutch oven, preferably enameled cast iron. Brown beef well on all sides, about 5 min.
- Add canned tomatoes, and stir with wooden spoon scraping browned bits from the bottom of the pot (this makes the gravy). Add the onions, parsley, and bay leaf. Simmer on low heat, stirring occasionally, for about 1-1/2 to 2 hours until the beef starts to become a little tender. Make sure the stew does not boil. Add the beef broth, rosemary sprig, potatoes, and carrots. Cook on low for about 30 minutes. Add wine, broccoli, cauliflower, and other vegetables. Cook for about another 30 minutes or until the vegetables are tender. Remove the rosemary sprig and season with additional salt and pepper if desired. The stew will keep in the refrigerator for two days, or in the freezer for up to 3 months in an airtight container.
Victoria Sponge Cake (aka Victoria Sandwich) with Buttercream
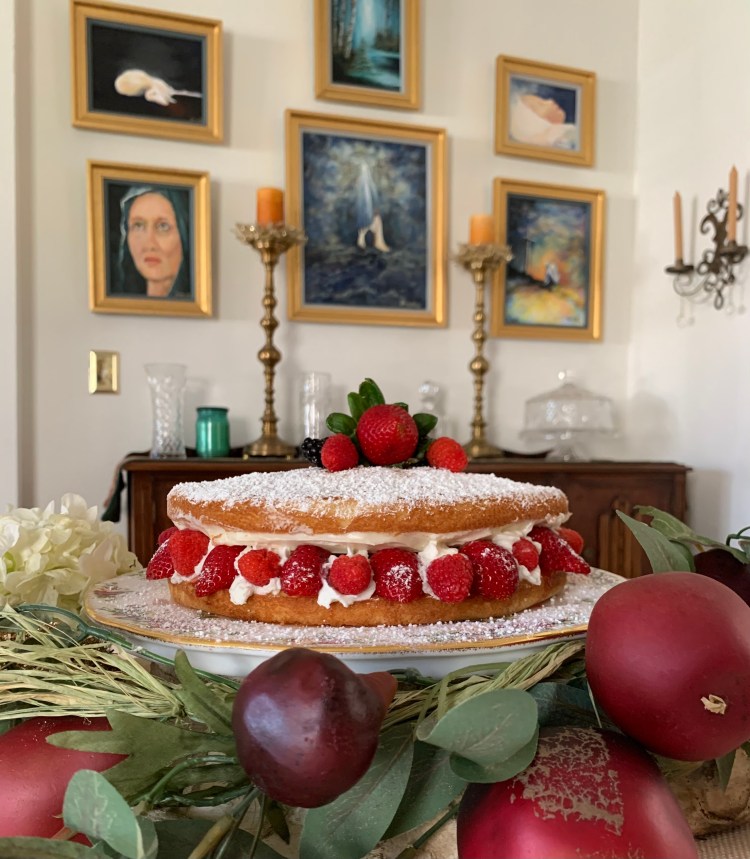
There are many versions of the Victoria Sandwich cake, and you can make yours to your liking. My recipe is a simple one – two layers of cake filled with jam and buttercream. I made homemade strawberry jam this morning, but you can use a good store bought jam for your filling.
For the cake:
1-1/2 sticks of softened butter (not melted)
3/4 c sugar
3 large eggs at room temperature
1/2 tsp vanilla extract
2 T milk (whole preferred, do not use skim)
1-1/3 c all-purpose flour
3-1/4 tsp baking powder
1/2 tsp salt
For the filling:
1/2 c softened butter (not melted)
2 c confectioners sugar
1 tsp vanilla extract
1-2 T milk
1/3 c raspberry or strawberry jam for spreading, more to taste
- Heat oven to 350 degrees. Spray and line the bottoms of two round cake pans with parchment paper.
- Whisk dry ingredients together in a medium bowl.
- Beat butter and sugar until light and fluffy. Beat in eggs one a time, and then add in milk. Mix in the flour mixture until combined, and then pour into prepared cake pans.
- Bake cakes until a toothpick inserted in the center is clean, about 25-30 minutes. Let cool for 10 minutes, and then unfold them onto a wire rack to cool, flat side down.
- Make the buttercream by mixing 1/2 c butter with 2 c confectioners sugar until light and fluffy. Add the vanilla extract and milk. Mix until creamy.
- Transfer one cooled sponge to a plate. Spread your jam evenly on top. Dollop your buttercream on top of that, and spread evenly. Top this with the remaining cake. Dust with powdered sugar and serve.
